A traditional celtic braid bracelet - tutorial for 4-5 strands
A braided bracelet in a traditional Celtic style looks complicated but it is easier to braid than you might think. In fact it is quite simple once you have understood the system.p how to.
In the following tutorial we show you step by step how to:
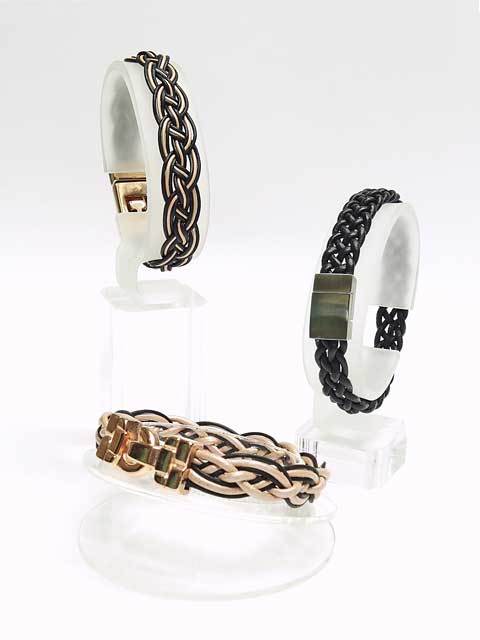
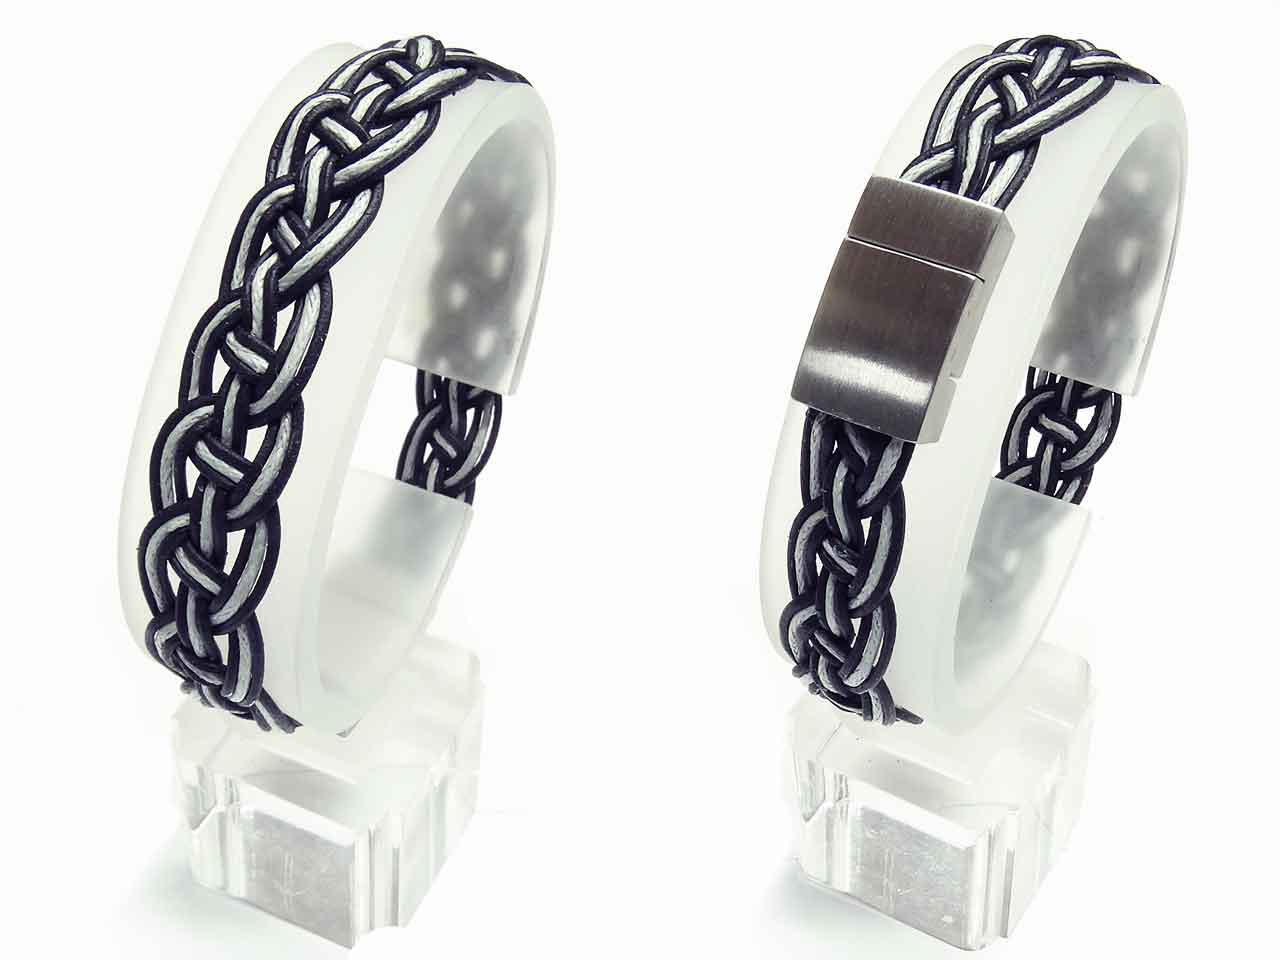
We have chosen the bracelet on the left top but instead of the rose gold coloured leather cord we have used a light grey cotton cord in 1mm.
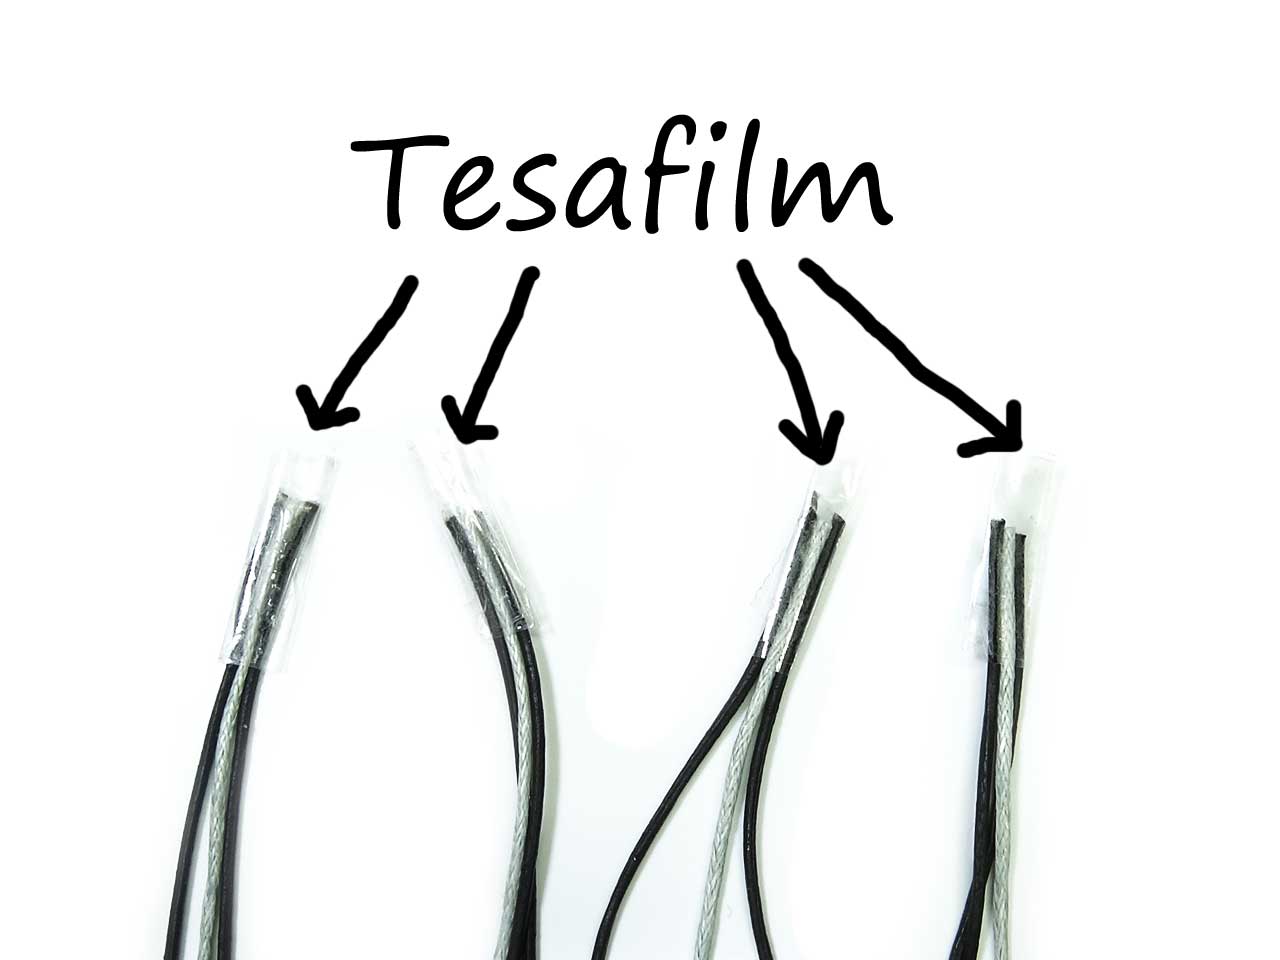
As the first step you prepare the 4 strands you want to braid. Each strand consists of two 1mm black leather cords and one of the light grey cotton cord which is in the middle. As a beginner you should use the double length of the bracelet which means app. 40 cm. To keep the cords together as one strand we have used adhesive tape as you can see on the photo:
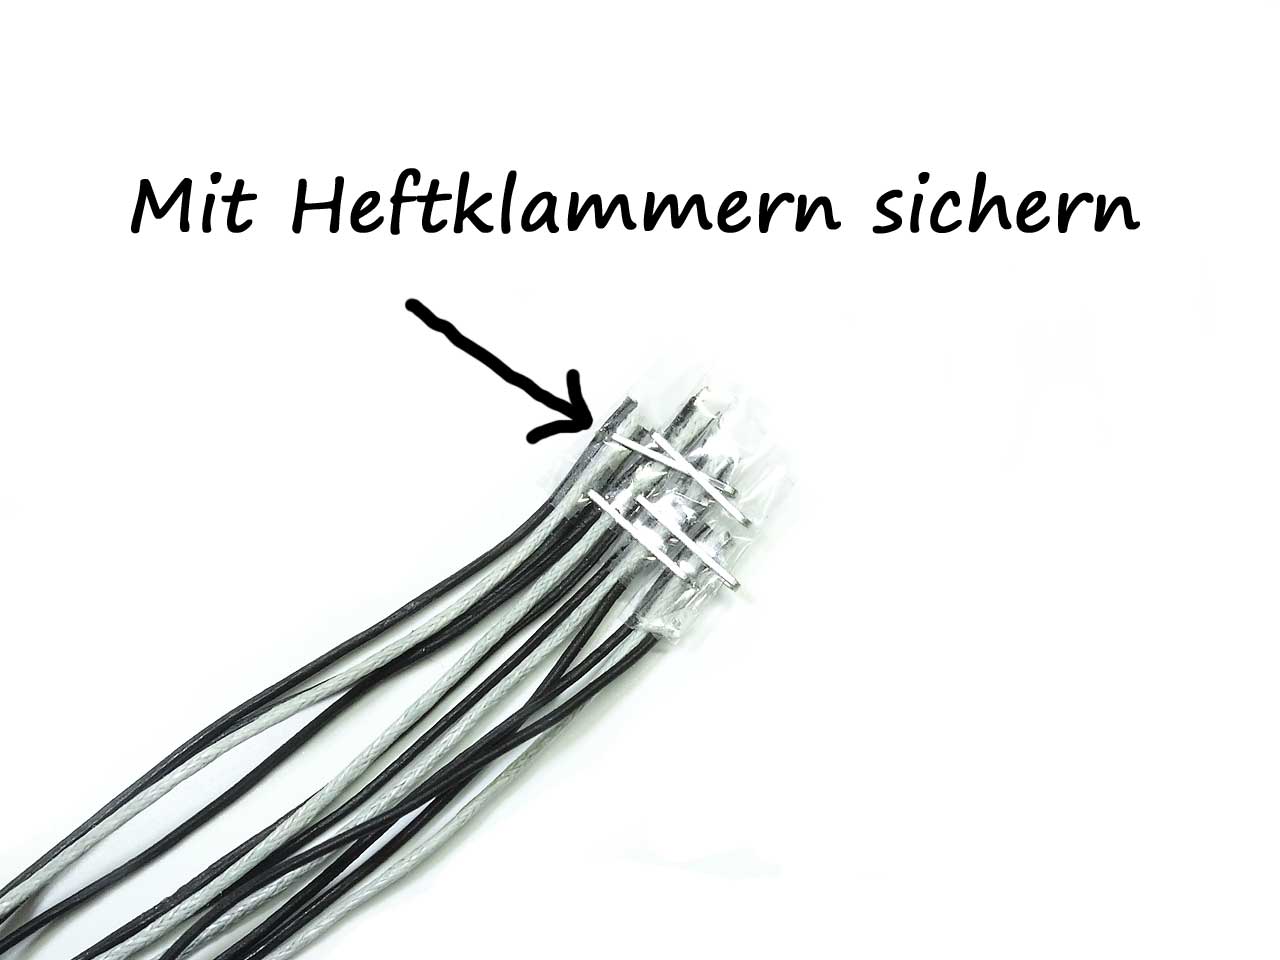
In step 2 you staple all four strands together:
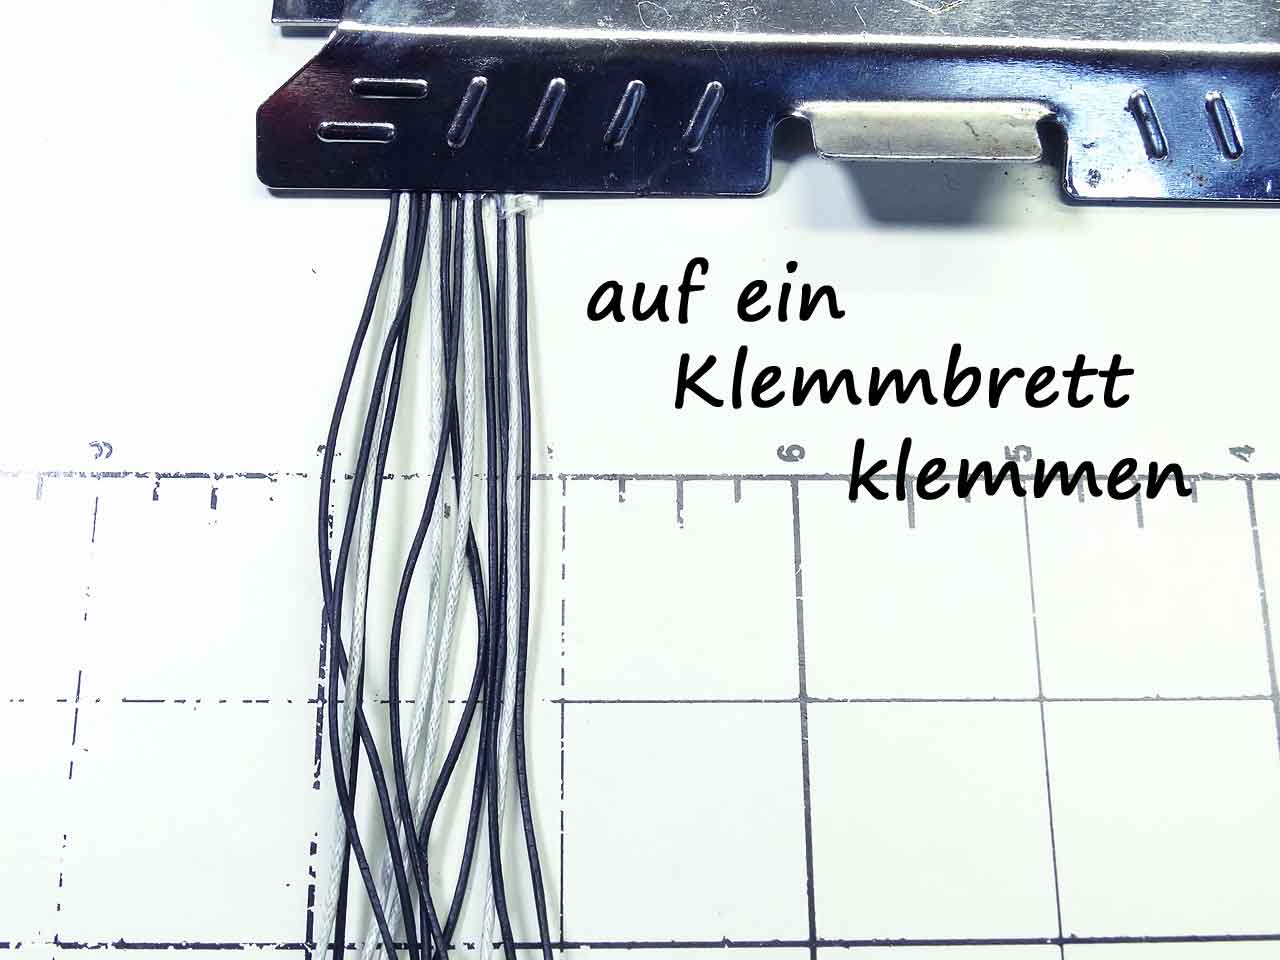
In step 3 you fix them on a clipboard:
Step 4: Now you take the strand on the right and cross it to the left over the next strand:
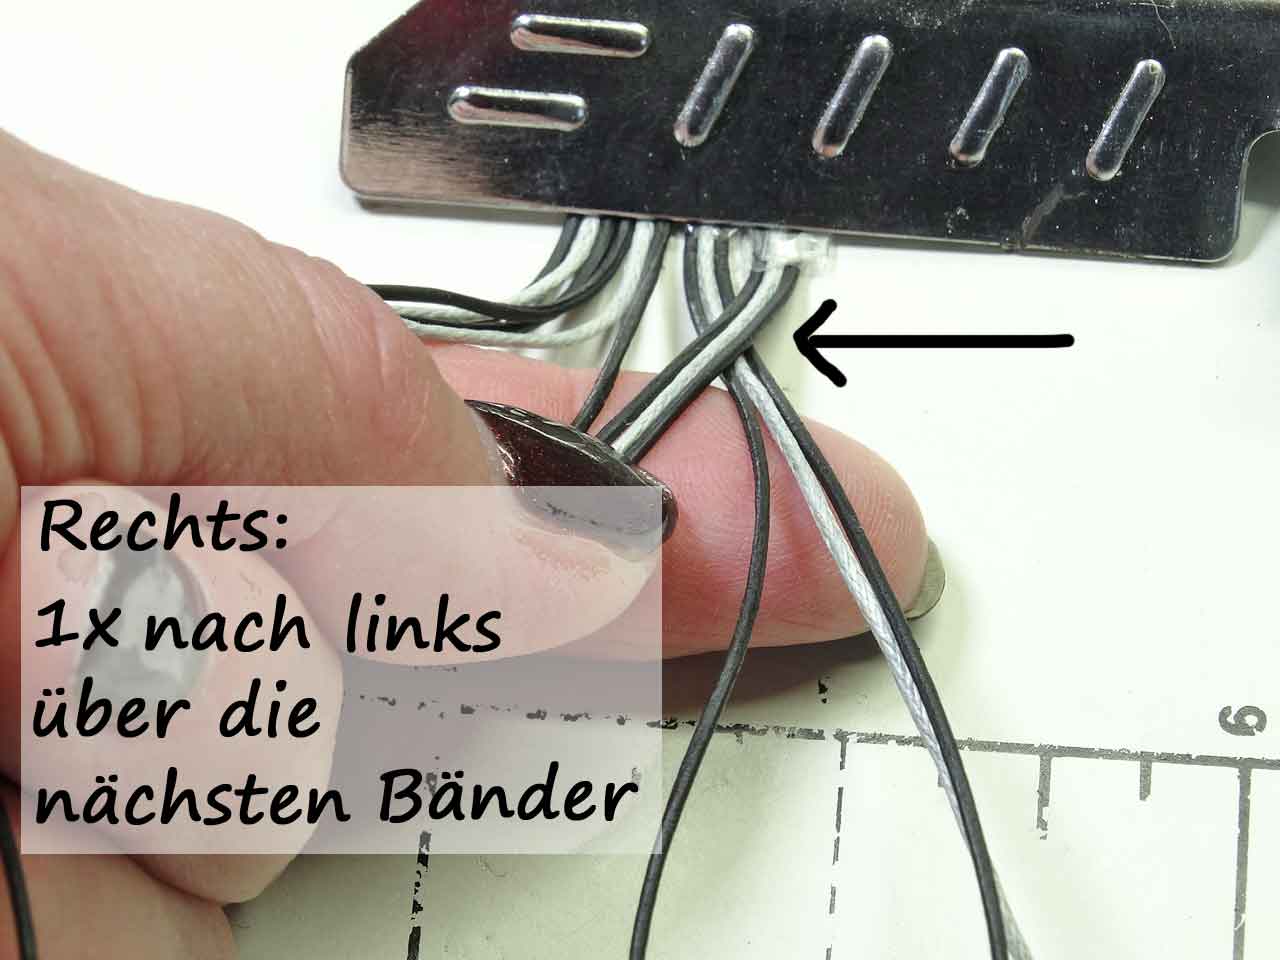
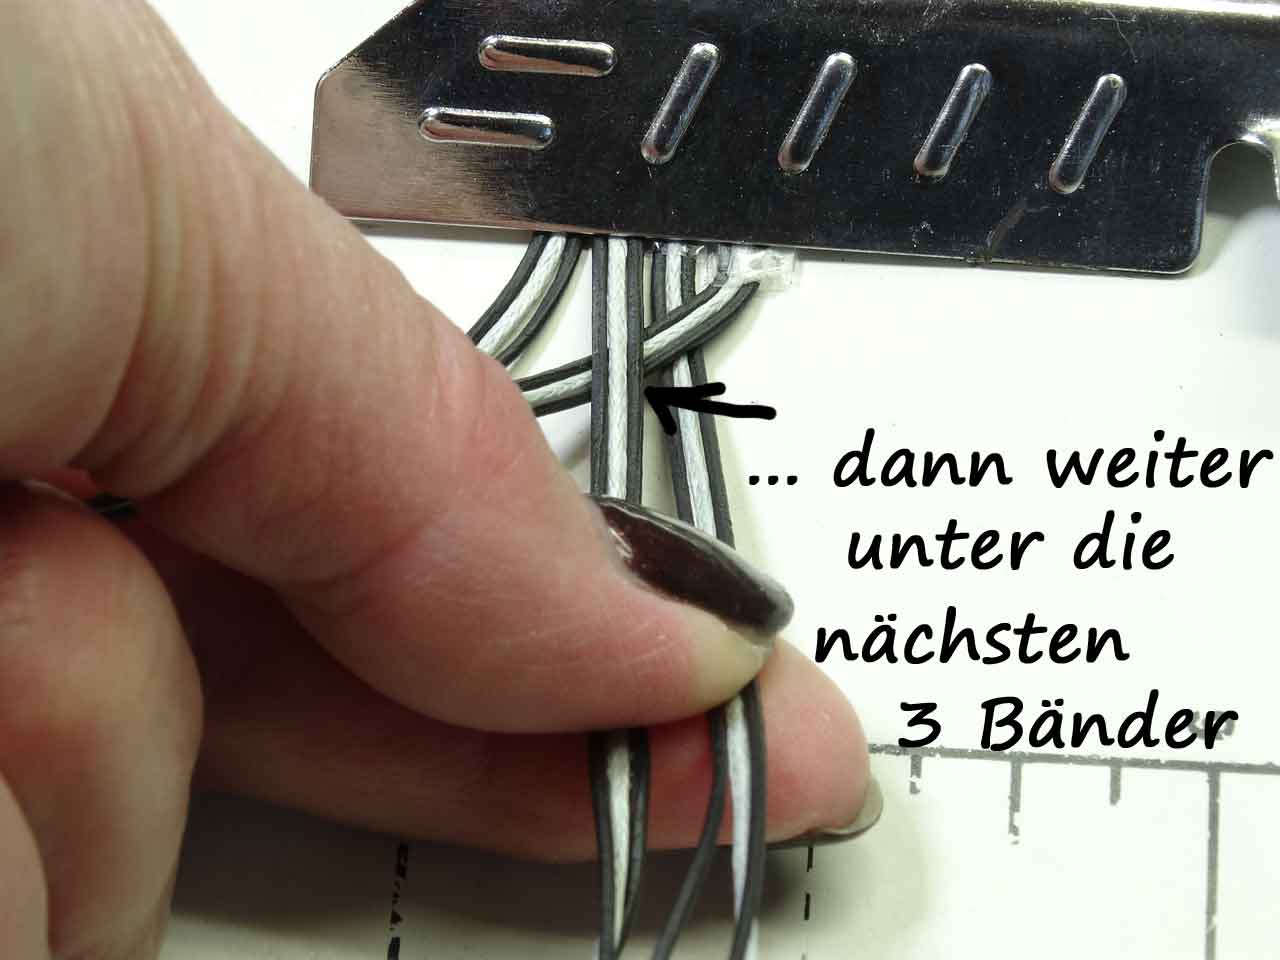
and subsequently again to the left by crossing under the next strand:
Then you proceed from the left to the right in reversed order. First you cross to the right but now under the next strand and secondly over the next strand.
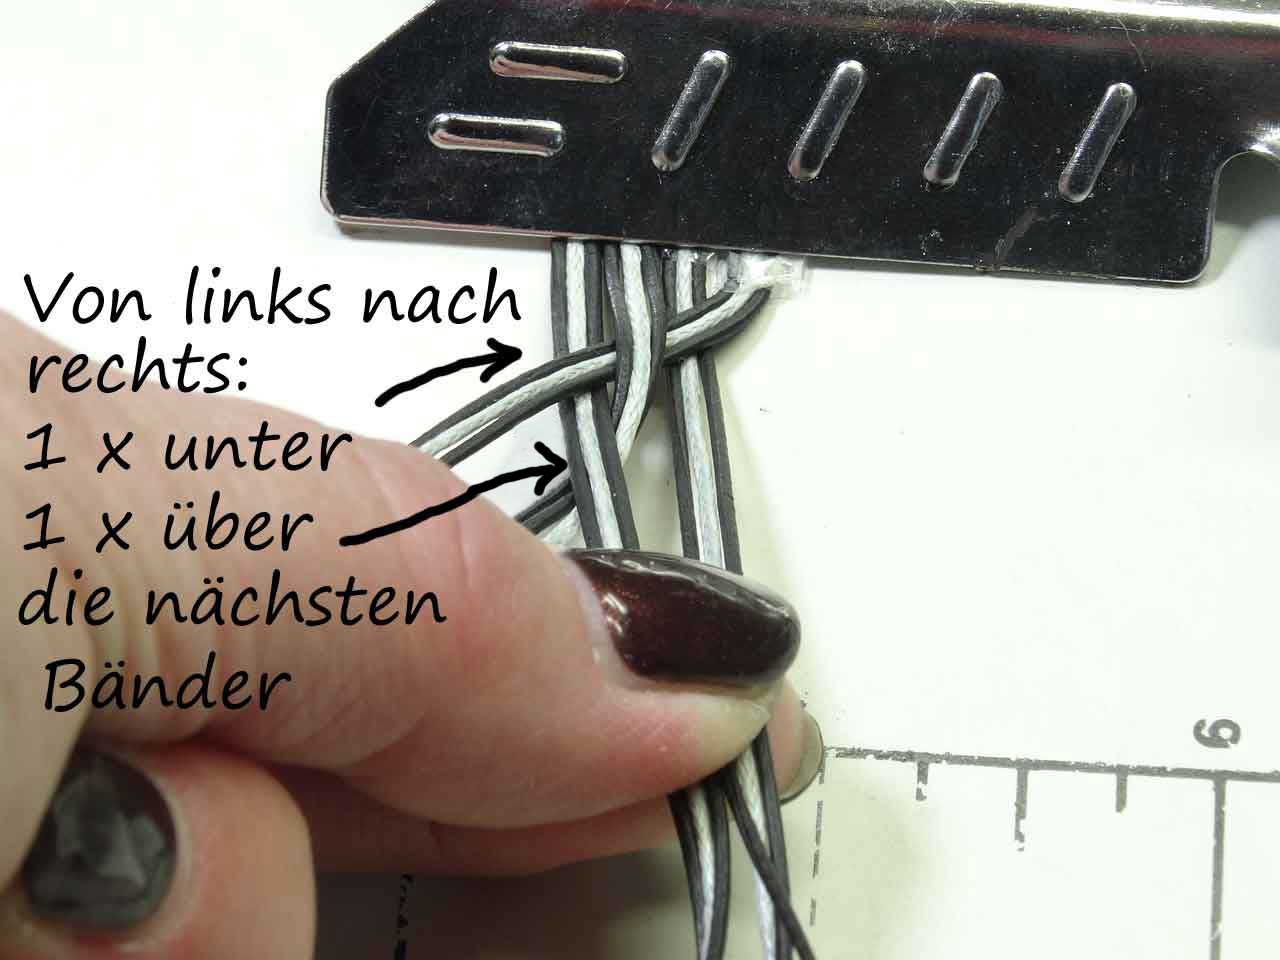
Then you start again on the right side be crossing once over and then under the next strand.
As a formula you can keep in mind:
On the right side: cross over - cross under
On the left side: cross under - cross over
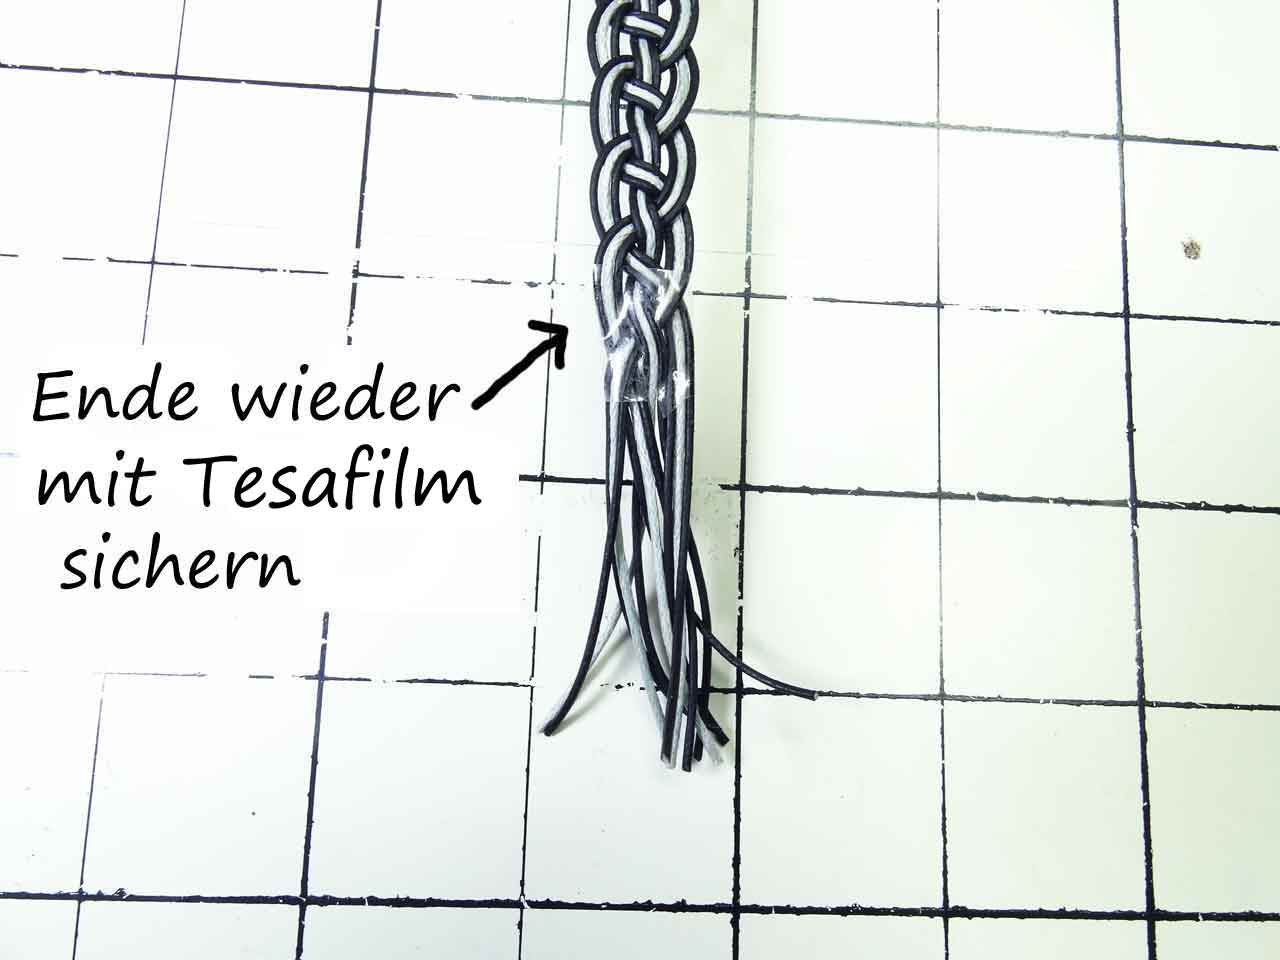
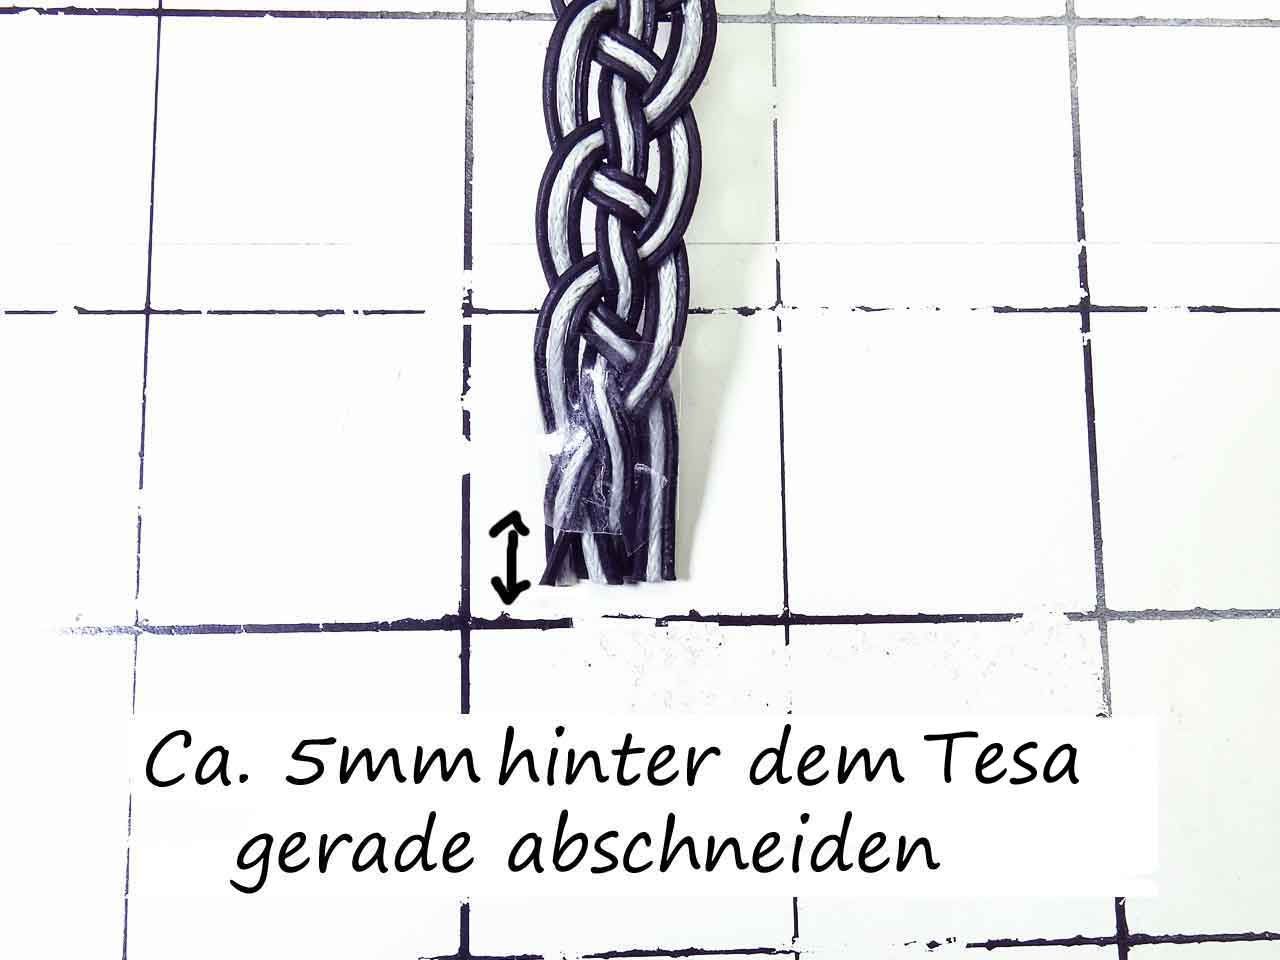
Finally you secure the end with adhesive tape and cut the strands app. 5mm behind the tape (this is the depth of the clasp end):
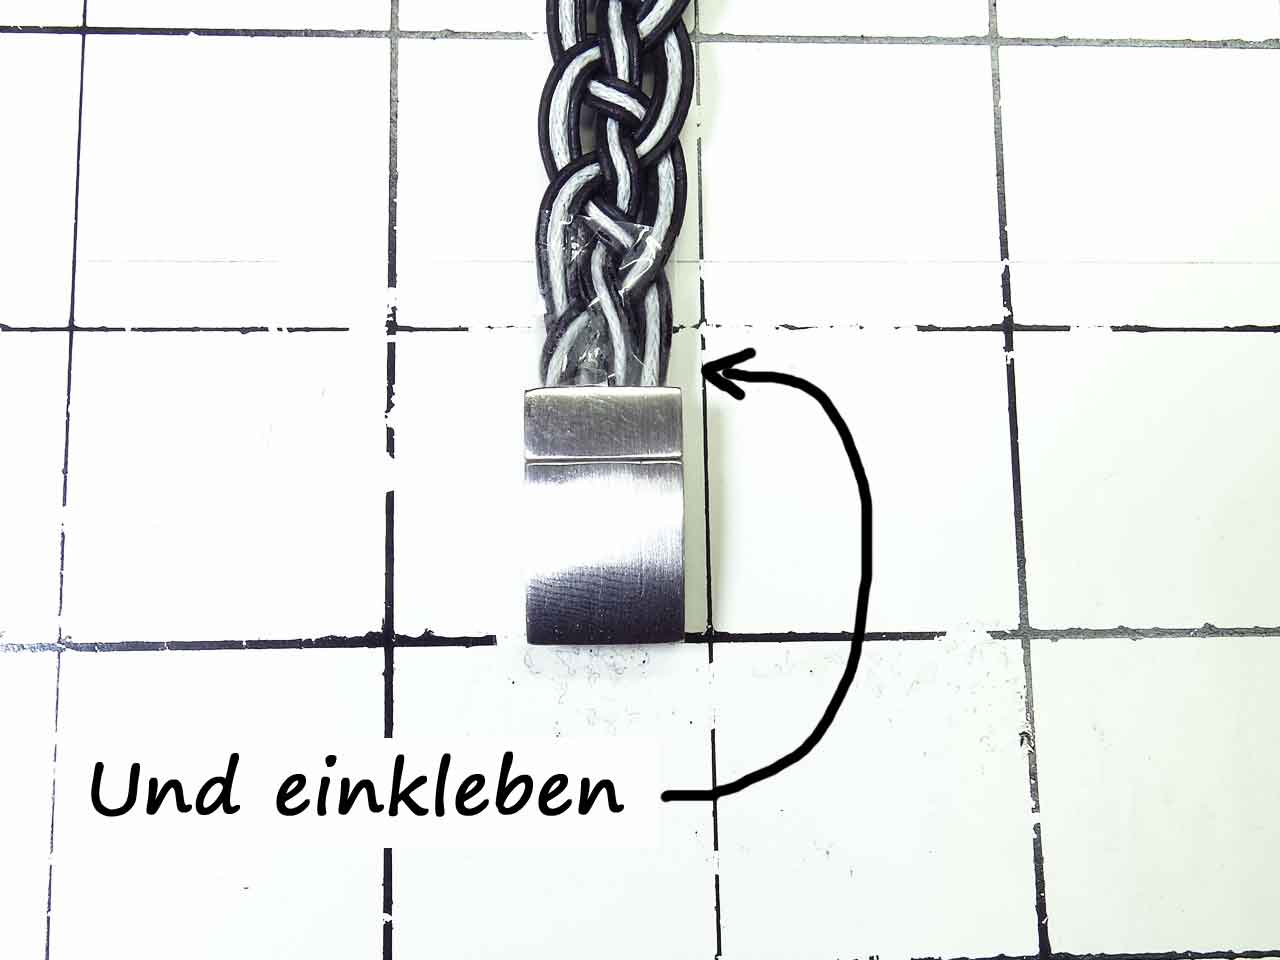
Then you glue the ends into the clasp or end cap:
The same is done on the other side after having measured the correct length for your bracelet. Then you remove the tape carefully:

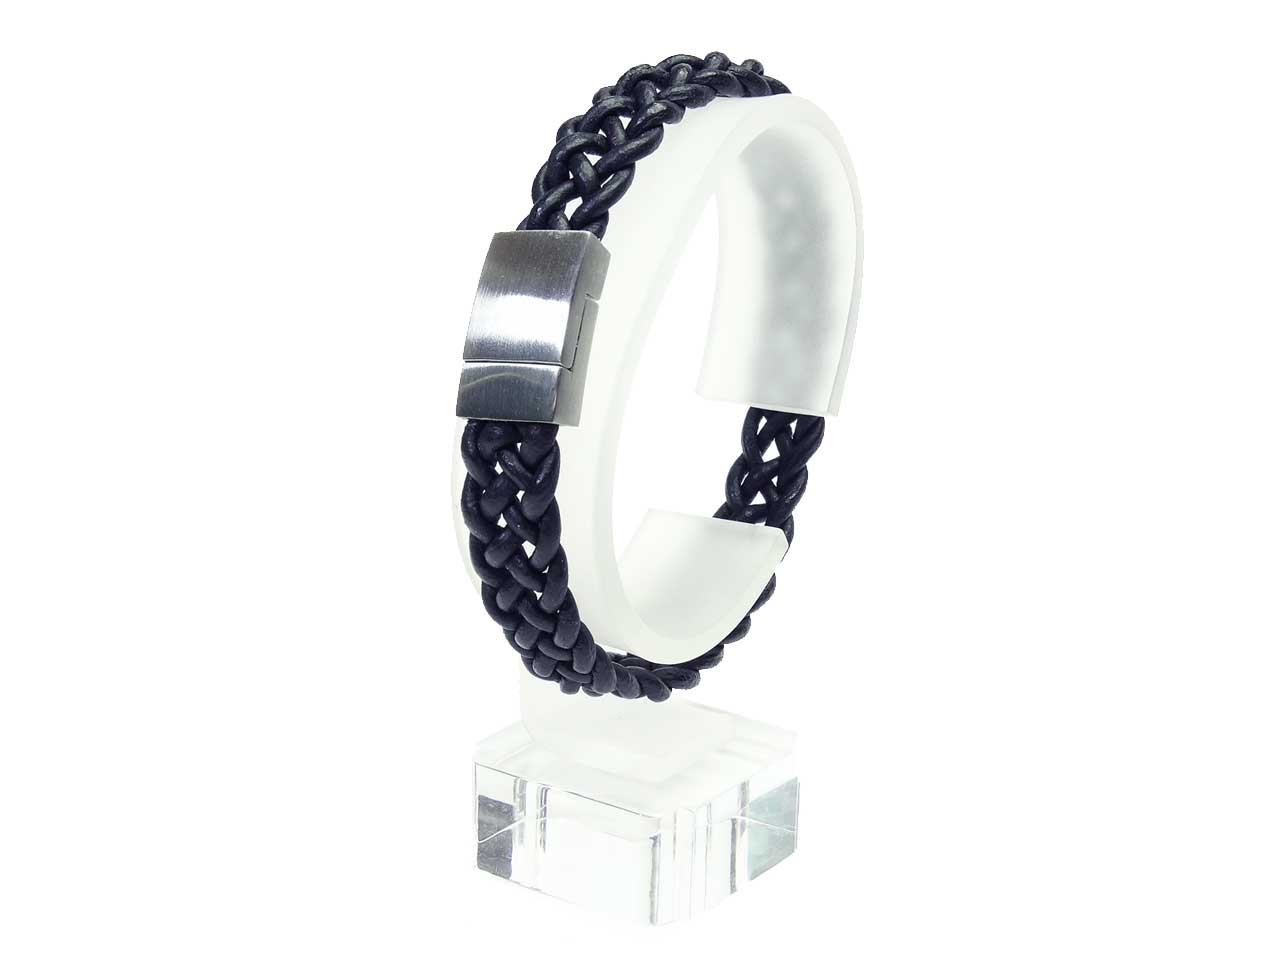
The bracelet is now ready!
It is even easier to braid with 5 strands! The formula on both sides is identical:
From the right and from the left always:
cross over - cross under
And this is the result:
©copyright Magic and Arts 2016